Adding Test Coverage Badges

Putting a Test Coverage Badge on README.md to JavaScript Projects
If you’re working on a Javascript / Typescript project and want to show the world how well your tests cover your code, adding a test coverage badge to your project’s README is a great way to communicate the health of your tests. In this post, we’ll show you how to integrate test coverage badges into your JavaScript project using a custom library.
Before we begin, you should have a JavaScript project with tests written using either Mocha or Jest. We’ll walk through configuring coverage reporting for both of these test frameworks.
Install the Library
Install de the library js-coverage-badges in your project using npm or yarn. After installing the library, you can begin using it in your project.
Set Up Test Coverage for Mocha or Jest: Configuring your unit test library
The badges are generated based on your test coverage data. Let’s go through how to set this up for both Mocha and Jest.
Mocha Configuration
If you’re using Mocha for testing, you’ll also need to set up nyc (Istanbul) to gather the coverage information.
First, install nyc as a development dependency:
npm install --save-dev nycNext, update your package.json file to configure nyc. Add the following nyc configuration:json
"nyc": {
  "extension": [ ".js" ],
  "reporter": [ "json-summary", "lcov", "text" ],
  "include": [ "src" ],
  "exclude": "**/*.mock.js"
}
Run the test coverage command:
nyc report --reporter=lcov --reporter=text --reporter=json-summary This command generates coverage reports in multiple formats, including json-summary, lcov, and text. The .nyc_output folder will be created to store the reports.
Jest Configuration
If you’re using Jest for testing, you can generate coverage reports with the built-in coverage tools.
Run Jest with the --coverage flag to generate the coverage reports:
jest --coverage --coverageReporters="json-summary" Jest will output coverage data to a coverage folder in your project.
Generate the Test Coverage Badges
After generating your test coverage reports, you can use the js-coverage- tool to generate badges for your test coverage.badges
Run the following command from the directory where you downloaded the library:
npx js-coverage-badges badges_outputThis command will generate the following badges:
- Statements
- Branches
- Functions
- Lines
The generated badges will be saved in a badges_output folder.
Step 4: Add Badges to Your README.md
To display the badges in your project’s README.md file, you can use the following Markdown:
## Tests Coverage
| Statements | Branches | Functions | Lines |
| --------------------------- | ----------------------- | ------------------------- | ----------------- |
|  |  |  |  |
or
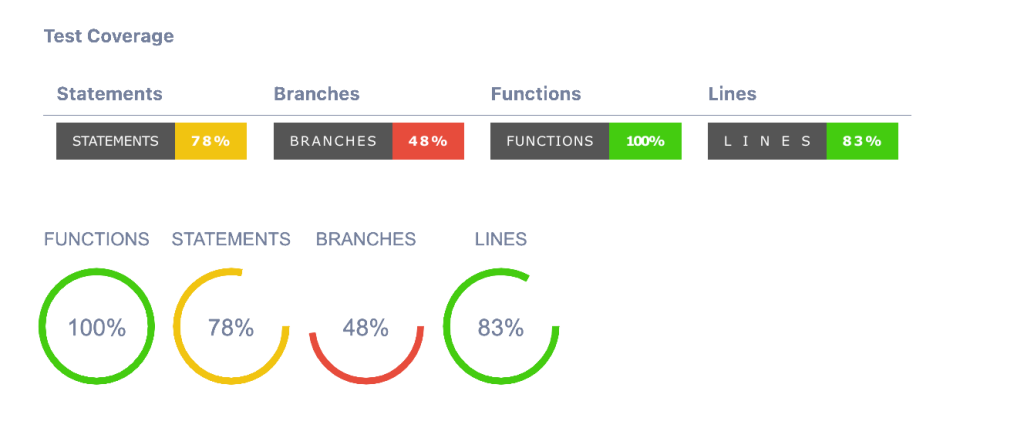
**Test Coverage**
    This will render something like the following in your README:
Conclusion
By adding test coverage badges to your project, you can easily communicate the quality of your tests to others.
Whether you’re using Mocha or Jest, the js-coverage-badges library makes it simple to generate and display these badges in your README.md. This small addition can help maintain code quality and improve the trustworthiness of your codebase.